Building a Renderer with Metal (Part 2)— Setting up a Development Environment
In this part of the series we will setup a development environment from scratch so that we’re ready to begin writing some code.
One of the reasons I chose to write this series using Metal is because of how straight forward it is to setup. The tooling that comes with Metal is really good, and will allow us to see mistakes and debug any code we write easily. The Swift programming language is a really nice, readable language for anyone to pick up fairly quickly. No matter what tech stack you come from, you should be able to pick up some basic Swift really easily.
The only tools you’ll need going forward are a Mac and Xcode. Compared to some other stacks we could be using, this is incredibly lean and straight forward to setup.
Create an Apple Developer account
This isn’t strictly necessary but you should do it. Having an account will allow you to run your programs on a physical device, and give you access to developer forums. It’s free and only takes a few minutes to do — so I’ll walk through how to to it. If you already have an Apple ID you’re part way there already.
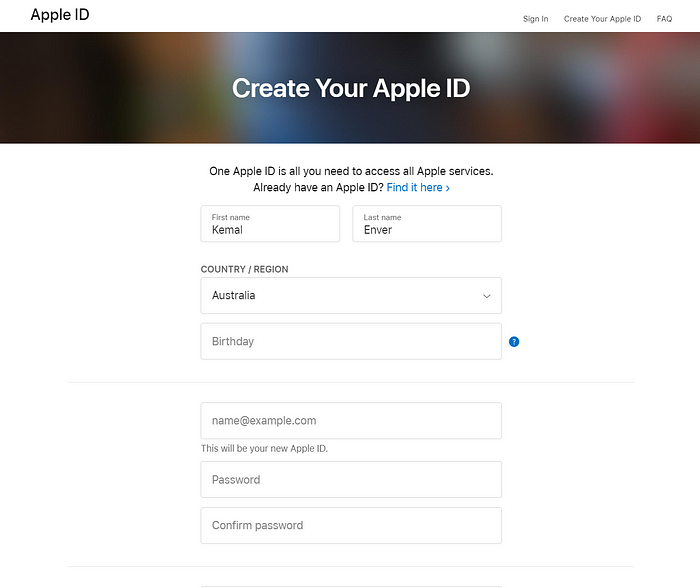
- Create an Apple ID on Apple’s account page . If you already have one skip this step.

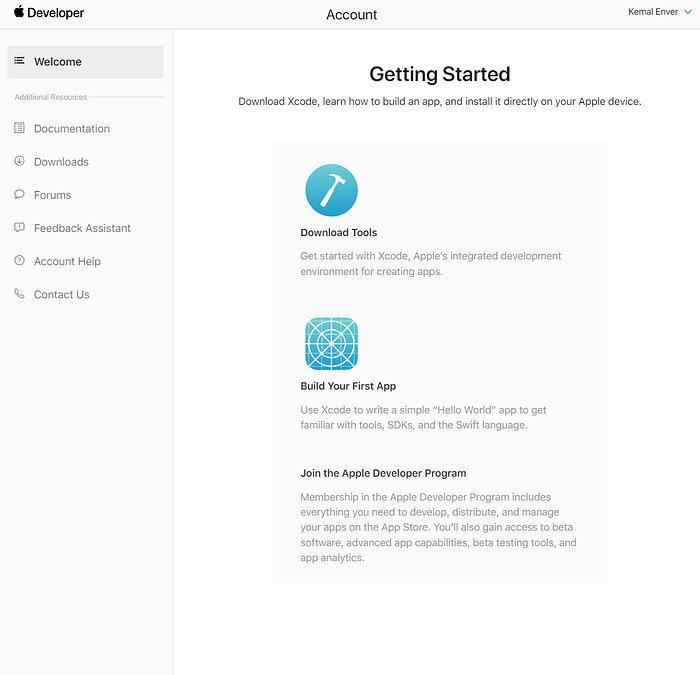
2. Once you have an Apple ID you can sign in to the Developer Portal. You may already be signed in after you created an account. You should see the following page.

Download and Install Xcode
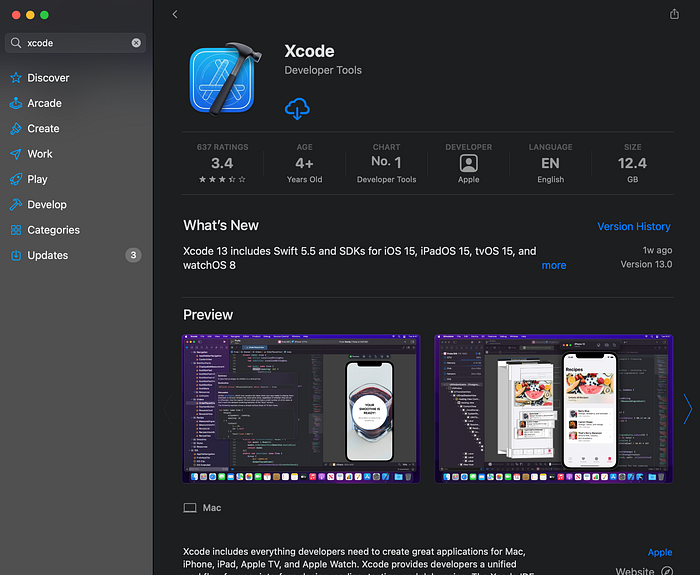
- This is the only software we’ll need to begin learning and coding our renderer. As of writing, the latest version is Xcode 13, and it can be downloaded from the Downloads tab of the developer portal, or from the Mac App Store.
- If you downloaded Xcode from the App Store you’re ready to go, otherwise you’ll need to run the installer that you downloaded from the developer portal. Either way you’ll end up with an executable in your Applications directory. Launch Xcode!
- You may be prompted to install some additional software, press yes and wait for it to complete. Once that’s done you’re all set!

Additional steps
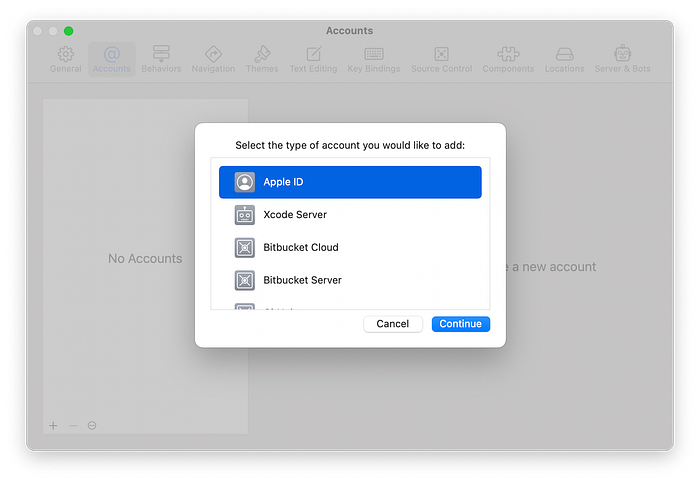
- You can sign into your Apple Developer Account from the Xcode -> preferences menu. If you do this Xcode will be able to do a bunch of things for you later if you try to run your applications on a device. I suggest to do this as it only takes a few moments.

Finally
You’re now all set to write applications for Apple platforms. In the next post I’ll begin explaining the steps involved in modern rendering, and we’ll write some code!
Follow me on Twitter: @kemalenver
